|
参考报价:电议 型号:
产地:美国 在线咨询
|

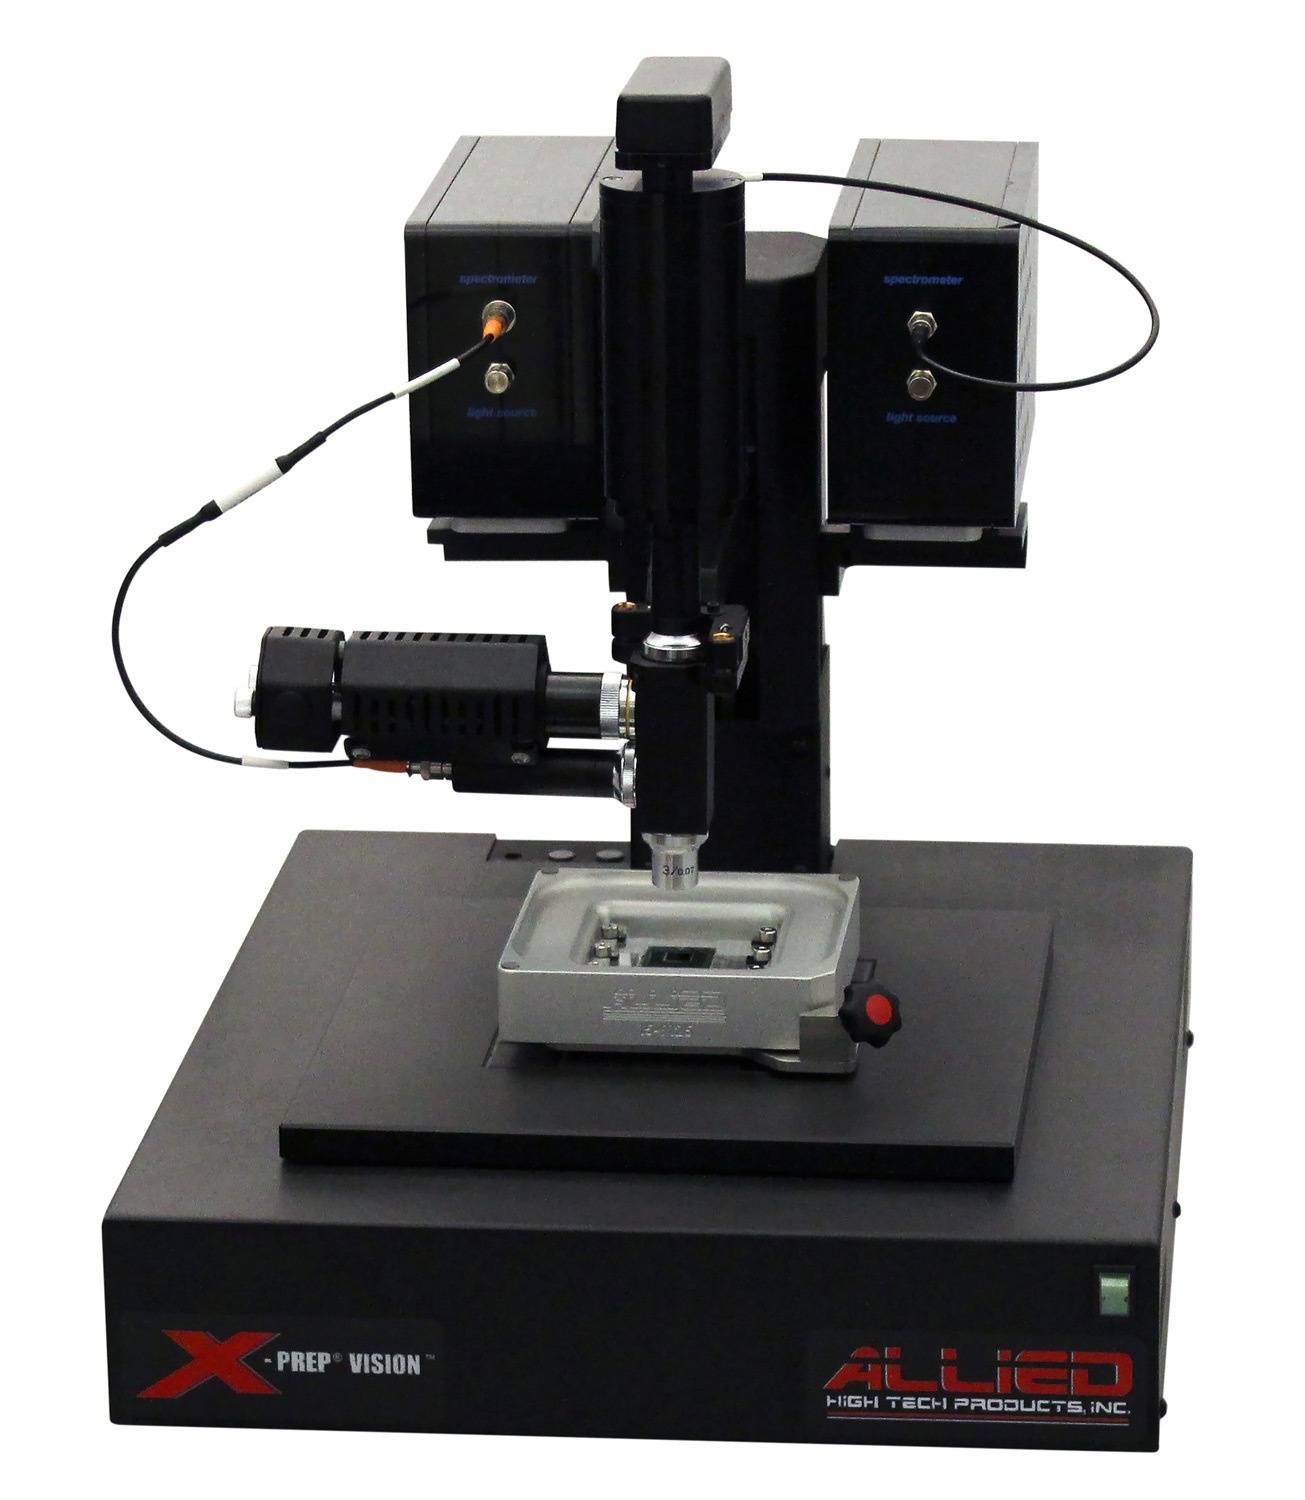
The X-Prep® fixture adapter is also secured to the motorized stage on the X-Prep® Vision™, ensuring the measurement/tool control coordinates remain aligned when transferred between systems.
A library with over 130 materials (i.e., GaAs, InGaAs, SiC, Sapphire/Al2O3, InP, SiGe, GaN, photo-resist) is included with every system.
Meaurement & Observation - How it Works
IR light is focused onto a sample, and a unique signal based on the refractive index of the material is created. The return signal is analyzed by the software to produce a thickness value.
Meauring Below 10 μm Thickness
For applications requiring thinning to less than 10 μm, precise measurement is possible only by adding the visible light spectrometer accessory.
| Multipoint scan or single-point thickness measurement | 10 microns to full thickness (1 mm) range of measurement (15 nm to 1 mm thick when configured with #15-51000 Spectrometer) | |
| Motorized, automatic X/Y/Z (auto-focus) with <1s acquisition time | Automatic edge and corner detection aligns measurement grid with X-Prep® - including theta correction | |
| Edge exclusion with X/Y input | Stage fitted with X-Prep® fixture adapter | |
| "Drive to Coordinate" software navigation | Viewing of either 2D plot/map or 3D graph | |
| Supplied with Allied proprietary X-Correct™ software | CCD camera (#15-50020) must be purchased separately if not purchasing Visible Light Spectrometer (#15-51000) | |
| Roughness - 15 micron finish | 100 mm x 100 mm stage travel | |
| Software automation extendable through .NET | Data export using standard Windows methods | |
| One (1) year warranty | Dimensions: 14" W x 17" D x 19" H (355 x 431 x 483 mm) |